
NOTE: The conformal coat in the syringe should not be cold before applying. If the liquid is cold or not flowing easily you should heat it with a blow dryer first so it flows better into all the nooks and crannies.
Basically the upgrade for this is ensure the battery is clean and dry, then position it so the battery connectors are facing directly upward. Take the preloaded syringe containing the coating and inject it into the gap between the connectors. Leave it sitting upright like this for a day and the upgrade is mostly complete. See video below.
You probably want to heat up the conformal coat with a hair dryer (aka blow dryer) or a heat gun if you have one, prior to applying the coat. This will greatly increase how well it flows. The better it flows, the more effective this upgrade will be. Here is a video on heating it with a hair dryer
- For a Downloadable Copy of the Printout (click here) or see below for both the printed instructions and copy of notification email.

KIT CONTENTS:

- Syringe full of Conformal Coat
- Gloves
- Air Can
- Bicycle Frog Light
- Paper Napkins
- Xt90-xt60 covers
After making sure you have all the kit contents, you are ready to begin!
OPTIONAL TOOLS:


We recommend watching our video on www.lunacycle.com/winter to see a video showing this process.
Start with a battery that is inside at room temperature and dry in the connector area. If needed, you can use a hair dryer to heat up the back connector area of the battery, or do this process after the battery has been charging for a few hours so that it is warm to touch. Do this process outside or in a well ventilated area. Do not allow the conformal coat to get inside the gold colored connectors, this is just for the outside of the connector (at the base where it meets battery). The goal is to fill that area with conformal coat and allow it to dry.

-
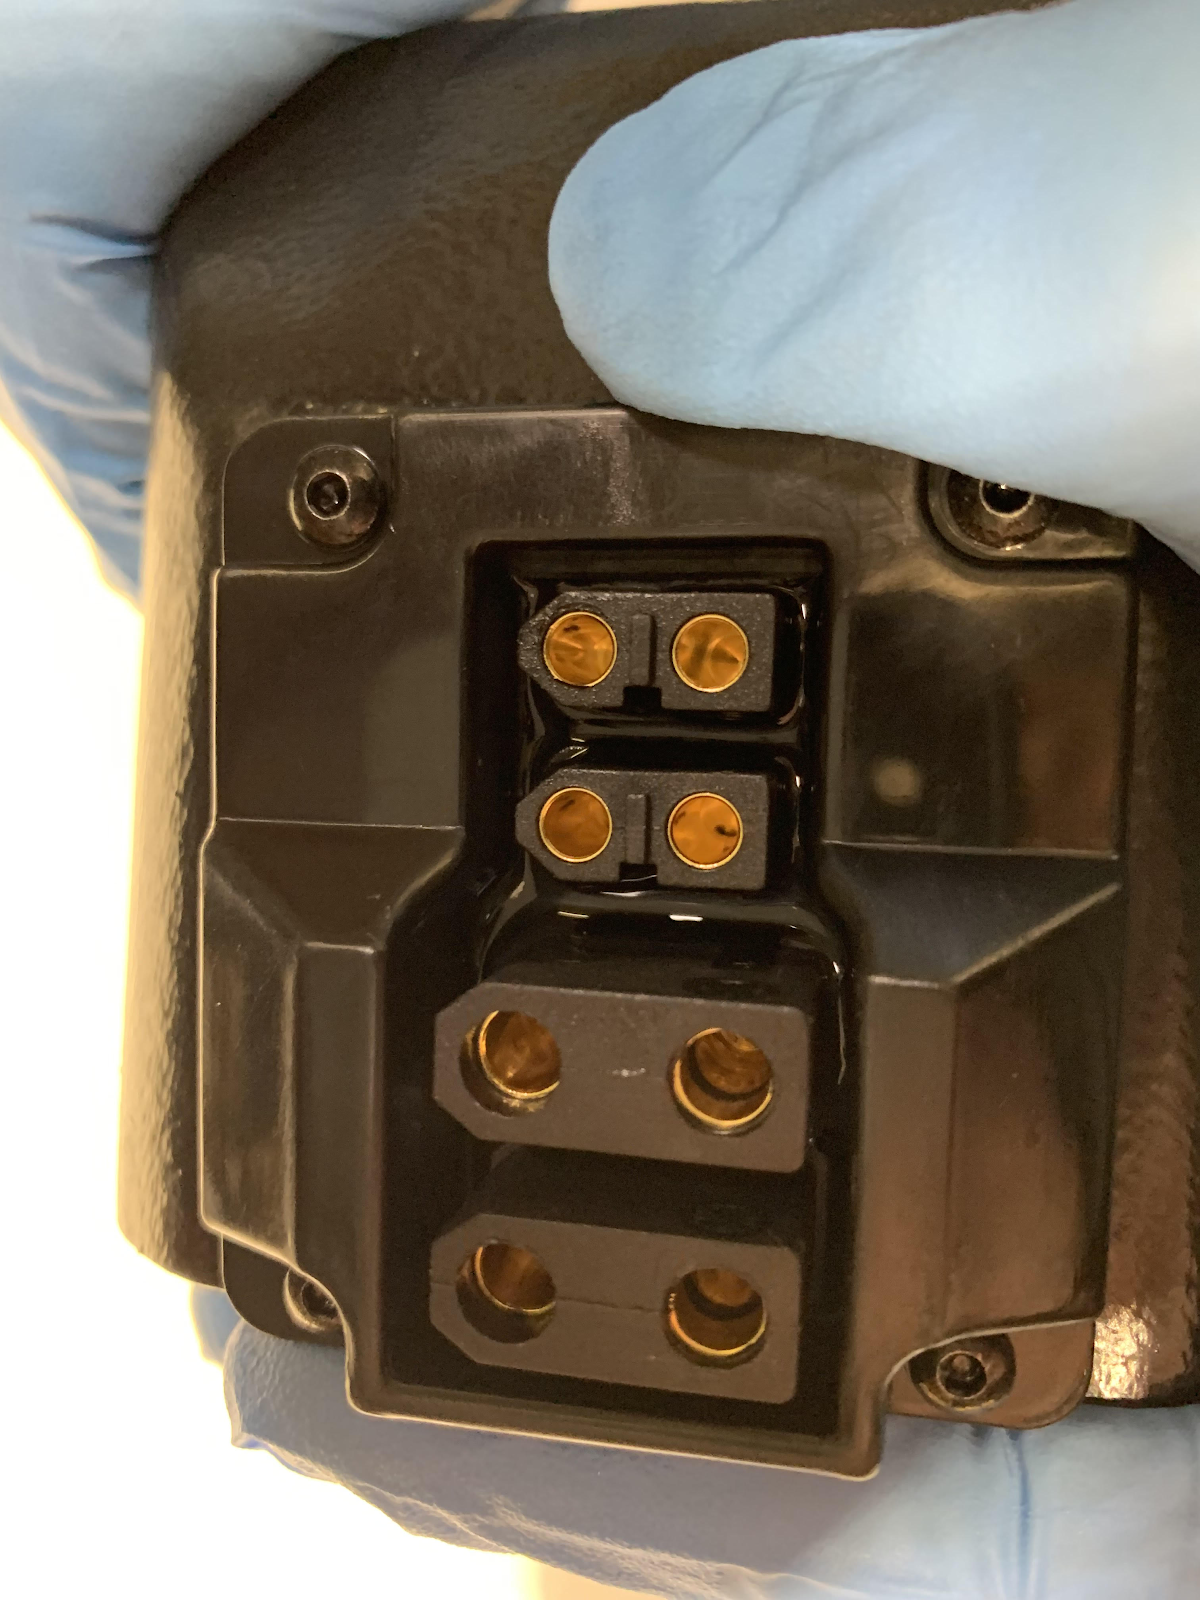
Remove any connector covers you have on the battery so that all four connectors are exposed. This will keep them from getting stuck into place.


-
Light up and inspect the connector area with the provided frog light. Make sure the cavity is completely dry and free of debris. Look for corrosion (green or white residue) between the XT60 and XT90s at their base.


-
Gently Rock the battery back and forth and side to side 3 times in each direction so that the conformal coat saturates the area in between the connectors (see video to clarify).
-
Do not put the connector covers ( or attach anything to your connectors ) on the XT60 or XT90 until after 4-6 hours or they could stick.
-
(Optional) put dielectric grease provided in the gold connectors to keep them from corroding. Dielectric grease goes inside the connectors (unlike the conformal coat).


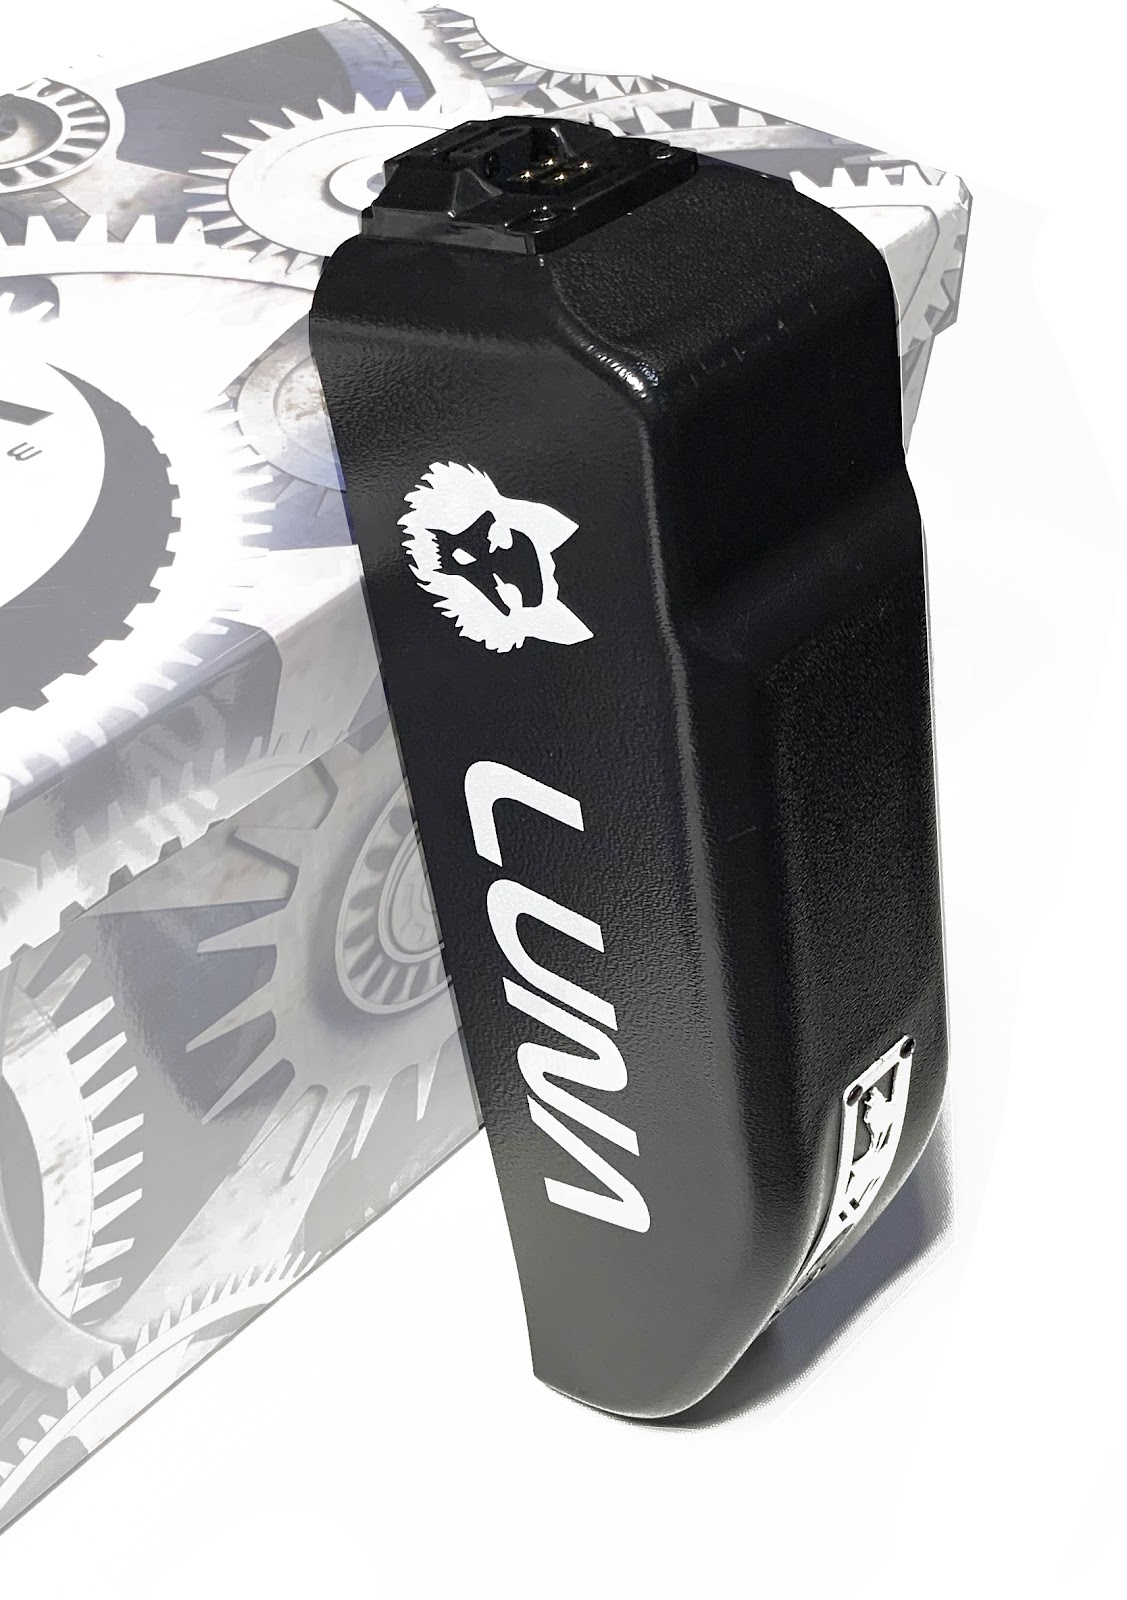
This plate is for customers who ordered their Wolf or Dire Wolf batteries after June 15th 2019.
If you received this kit you should replace your stock back plate with this new more durable and flame retardant one.
-
Remove your old plate as step #1 of the winterize directions. Use the provided 2mm allen screw to remove the four screws holding on your back plate. This will give you excellent access to the connector area.
-
Proceed with the Winterize Treatment.
-
Put the new flame retardant back plate on after Step #9 to complete the winterizing process. The flame retardant plate has a yellow dot on the top of it as an identifier since otherwise it looks identical to your old plate.
(original emailed notification below in case you missed it)
It is Winter Season and you can't be too careful when it comes to lithium batteries and water. In general, water is not good for any of your electrical components including the motor so try to avoid riding in heavy downpours.
Salt water however, is very bad (corrosive) for the Wolf Pack battery connectors and you should not ride on wet or slushy streets that have been treated with road salt (to melt ice) with your Wolf Pack. The connectors over time can corrode and then short circuit and ruin your pack. Also you should not ride your e-bike along the ocean water or anywhere else it can be exposed to salt water. This rule applies to all e-bike batteries, not just the Luna Wolf Packs.
Upgrade Time!
At the Luna Lab we have figured out how to improve even further the water resistance on our Wolf batteries and we are extending this as a free upgrade to all Wolf v2 customers! Do not ride in wet conditions without doing this upgrade. And as always avoid wet salty roads. As a bonus for you doing this upgrade the warranty on your wolf pack will be extended to 2 years.
How it Works:
Through our extensive testing, one of the main takeaways (regardless of battery use) is always the same: One of the weakest points is the connectors.
When we first set out to do a next-gen upgrade from the older Shark design we introduced in 2015, our first step was using high quality gold-plated XT connectors to cut down on electrical resistance and enhance reliability.
Now, we are taking that a step further and ensuring the region underneath our wireless connector points are sealed with a conformal coat (like a varnish coating), to continue our goals of improving the resistance to water and the elements as much as possible. While our latest production runs will have this by default, we are sending a free kit to apply this treatment to all existing V2 Wolf owners. (V1 is unaffected since the wiring directly exits the potting).
What You Need to Do:
We will be shipping these kits soon, please let us know if you have moved since you originally ordered your V2 Wolf, so we can update the shipping address and make sure we send it to the correct place!
We will provide detailed instructions and a video on how to apply the treatment. It is a very easy 5 minute application that requires no tools.
Look at www.lunacycle.com/winter to see the application.
If you have already been riding on wet salty roads please examine your connectors and the space between with a flashlight and if you see anything abnormal please email us a picture.
For further information on protecting your gear from water check out this page
For info specific to BBSHD and BBS02 kits check out this page