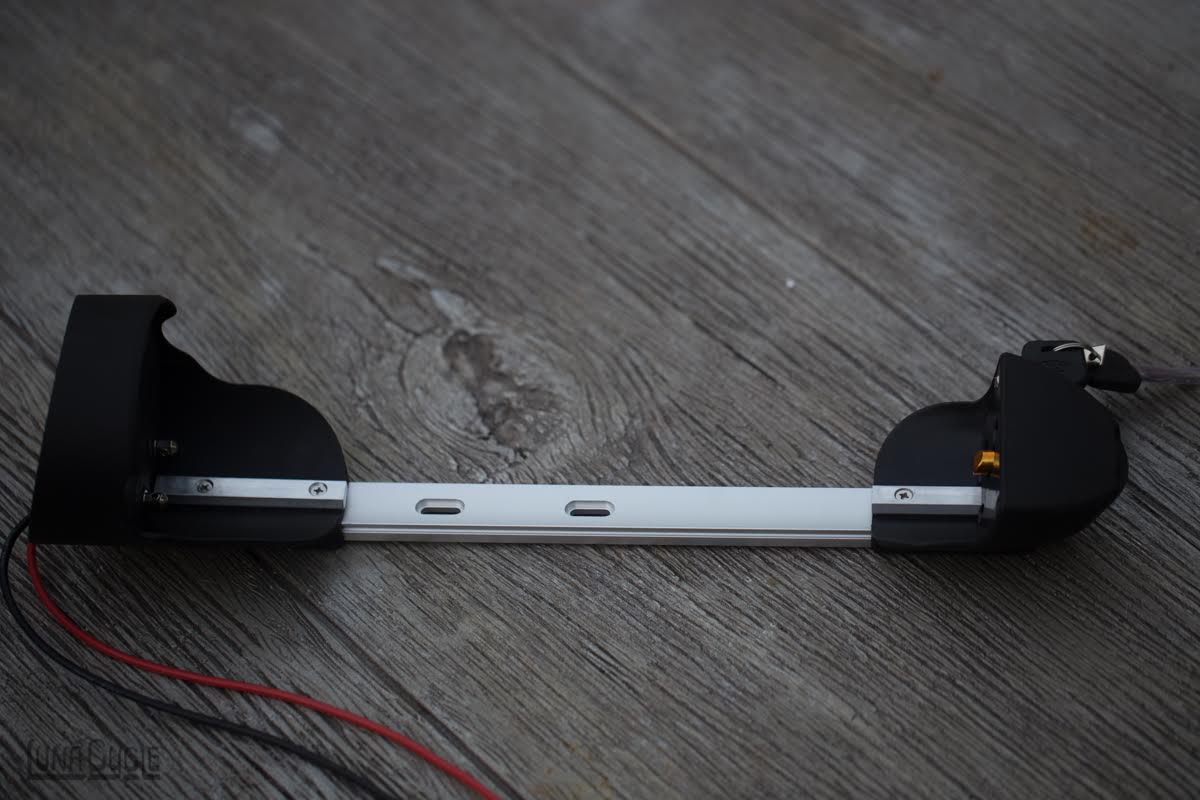
Here are directions on how to tighten the nuts on your Cradle Mount.
1. Remove the battery from the battery mount

2. Take the access panel off the back of battery using a small phillips screwdriver.

3. Examine the black and red wires, and see if they are loose on the connector posts. The connections should be tight enough so that you cannot turn the wire from side to side and move the connector. If they are loose, then continue with step #4

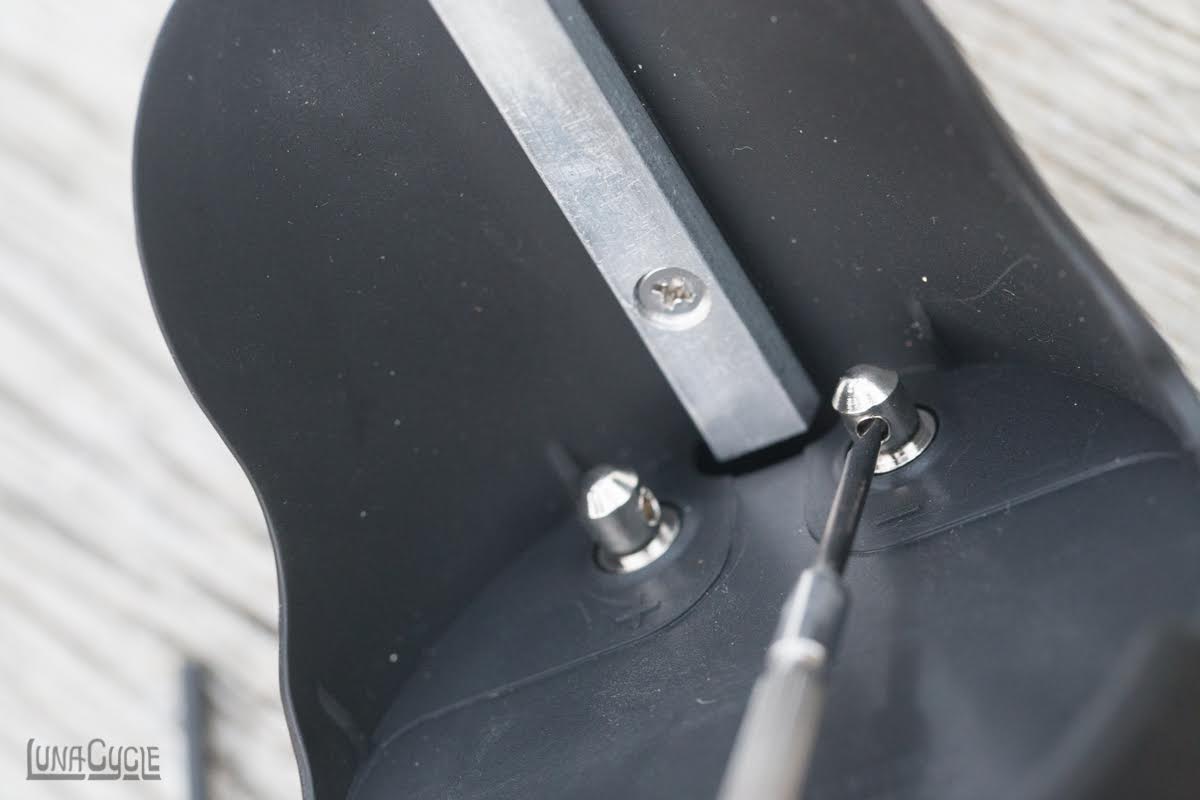
4. Use a pin or small screwdriver to insert into the battery connector to keep it from spinning. You could also use pliers to hold it. just make sure it doesnt spin when you are loosening nuts on other side.

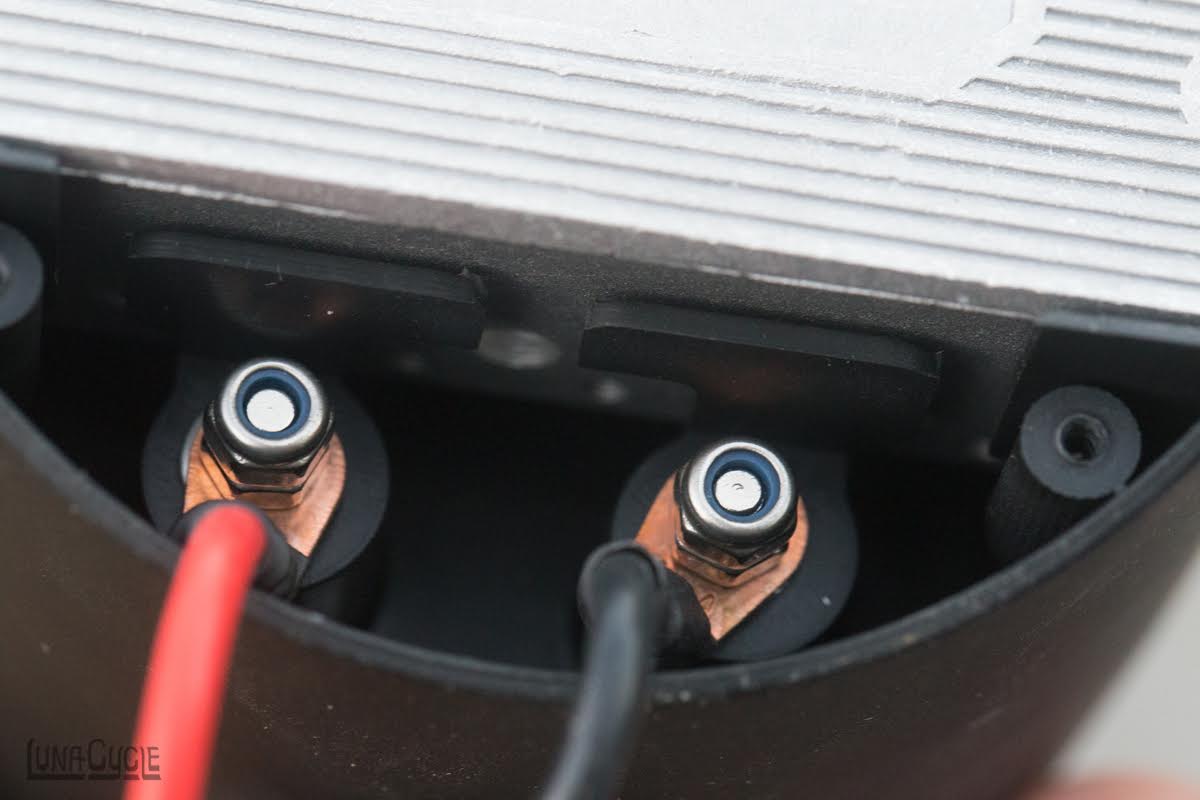
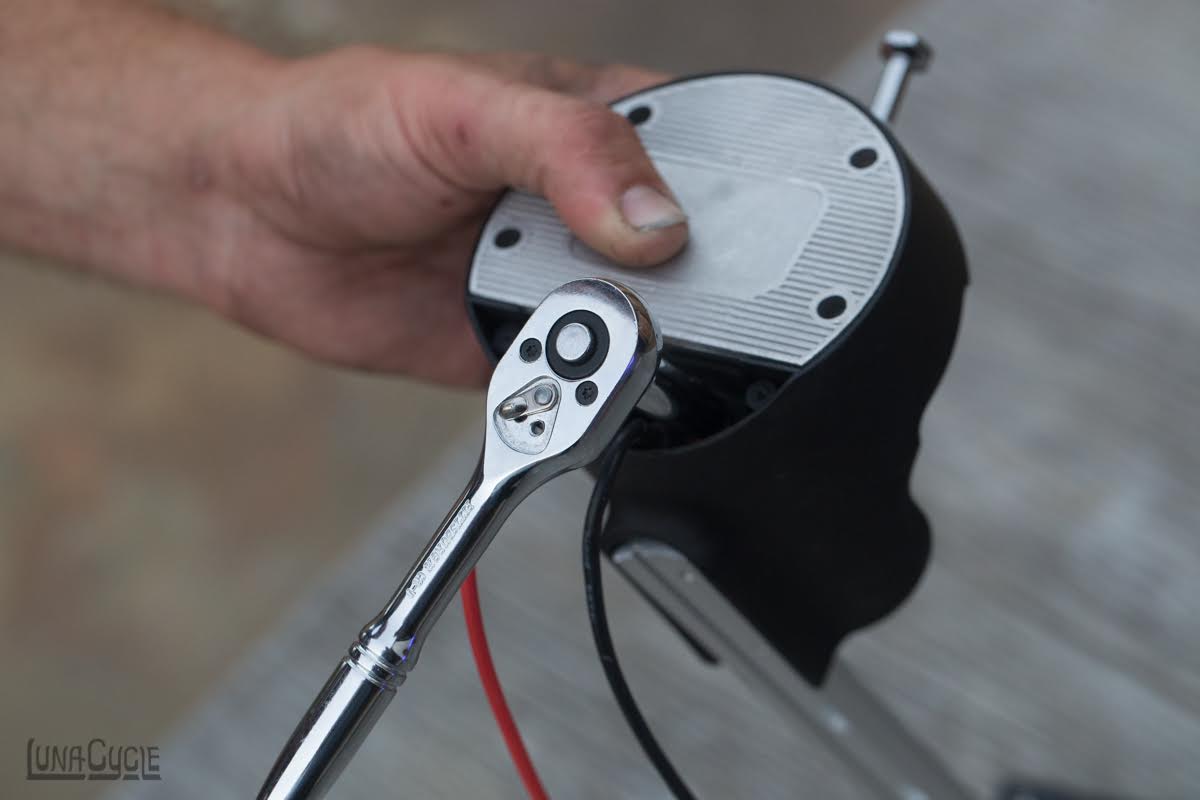
5. Go back to under the access panel and remove the nylon threaded lock-nut using a 7mm socket on the red wire. Notice there are 2 nuts, the lock nut on the top, and also a tightening nut on the bottom. Be sure you only loosen the top lock nut. In the picture below, you see the red wire has both nuts on...and the black wire has one nut taken off.

6. Use the same 7mm socket to tighten the lower nut that was underneath the top threaded nut. Make it “snug”...but do not over-tighten.

7. Re-install Nylon lock nut…and when you tighten it, make sure you are only tightening the lock nut and not also the nut underneath it. To do this, if you are using a socket...just dont put the socket all the way down over both nuts.
8. Repeat the above steps for the black wire. Both wires should be tightened down the same way.
9. Replace the access cover
You are done!….should not take more than 5-10 minutes to do this.
Thanks so much for doing this...
